Woodworker's Journal 2008-32-4, страница 31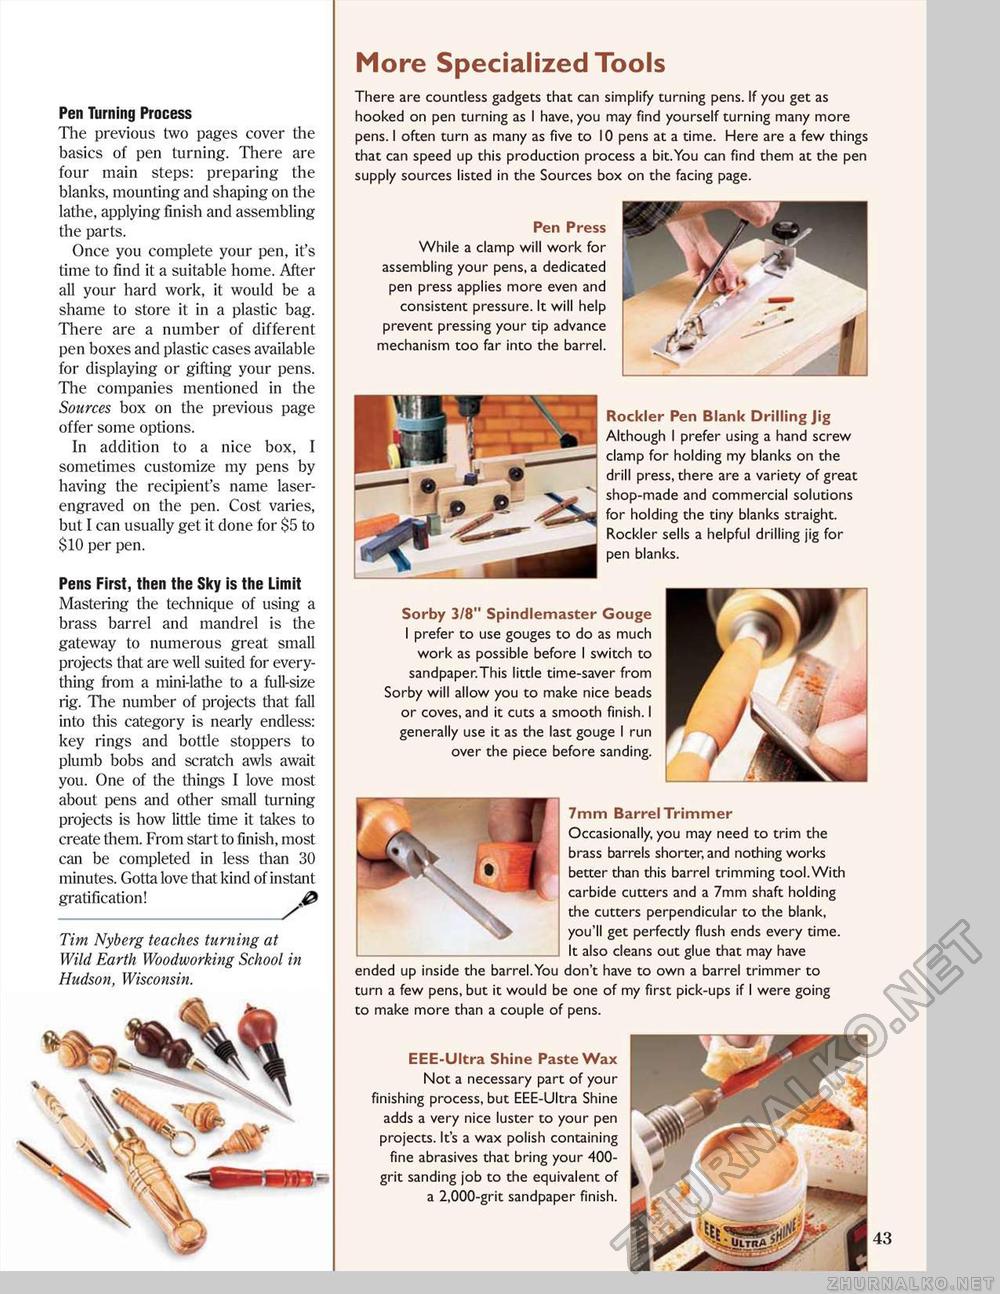
More Specialized Tools Pen Turning Process The previous two pages cover the basics 0/ pen turning. There are four main steps: preparing the blanks, mounting and shaping on the lathe, applying finish and assembling the parts. Once you complete your pen, it's time to find it a suitable home. After all your hard work, it would be a shame to store it in a plastic bag. There are a number of different pen boxes and plastic cases available for displaying or gifting your pens. The companies mentioned in the Sources box on the previous page offer some options. In addition to a nice box, I sometimes customize my pens by having the recipient's name laser-engraved on the pen. Cost varies, but I can usually get it done for $5 to $10 per pen. Pens First, then the Sky is the Limit Mastering the technique of using a brass barrel and mandrel is the gateway to numerous great small projects that are well suited for everything from a mini-lathe to a full-size rig. The number of projects that fall into this category is nearly endless: key rings and bottle stoppers to plumb bobs and scratch awls await you. One of the things I love most about pens and other small turning projects is how little time it takes to create them. From start to finish, most can be completed in less than 30 minutes. Gotta love that kind of instant gratification! Tim Nyberg teaches turning at Wild Earth Woodworking School in Hudson, Wisconsin. There are countless gadgets that can simplify turning pens. If you get as hooked on pen turning as I have, you may find yourself turning many more pens. I often turn as many as five to 10 pens at a time. Here are a few things that can speed up this production process a bit.You can find them at the pen supply sources listed in the Sources box on the facing page. Pen Press While a clamp will work for assembling your pens, a dedicated pen press applies more even and consistent pressure. It will help prevent pressing your tip advance mechanism too far into the barrel. Rockier Pen Blank Drilling Jig Although I prefer using a hand screw clamp for holding my blanks on the drill press, there are a variety of great shop-made and commercial solutions for holding the tiny blanks straight. Rockier sells a helpful drilling jig for pen blanks. Sorby 3/8" Spindlemaster Gouge I prefer to use gouges to do as much work as possible before I switch to sandpaper.This little time-saver from Sorby will allow you to make nice beads or coves, and it cuts a smooth finish. I generally use it as the last gouge I run over the piece before sanding. EEE-Ultra Shine Paste Wax Not a necessary part of your finishing process, but EEE-Ultra Shine adds a very nice luster to your pen projects. It's a wax polish containing fine abrasives that bring your 400-grit sanding job to the equivalent of a 2,000-grit sandpaper finish. 7mm Barrel Trimmer Occasionally, you may need to trim the brass barrels shorter, and nothing works better than this barrel trimming tool. With carbide cutters and a 7mm shaft holding the cutters perpendicular to the blank, you'll get perfectly flush ends every time. It also cleans out glue that may have ended up inside the barrel.You don't have to own a barrel trimmer to turn a few pens, but it would be one of my first pick-ups if I were going to make more than a couple of pens. •^UltrA. |


