Woodworker's Journal 2010-34-2, страница 36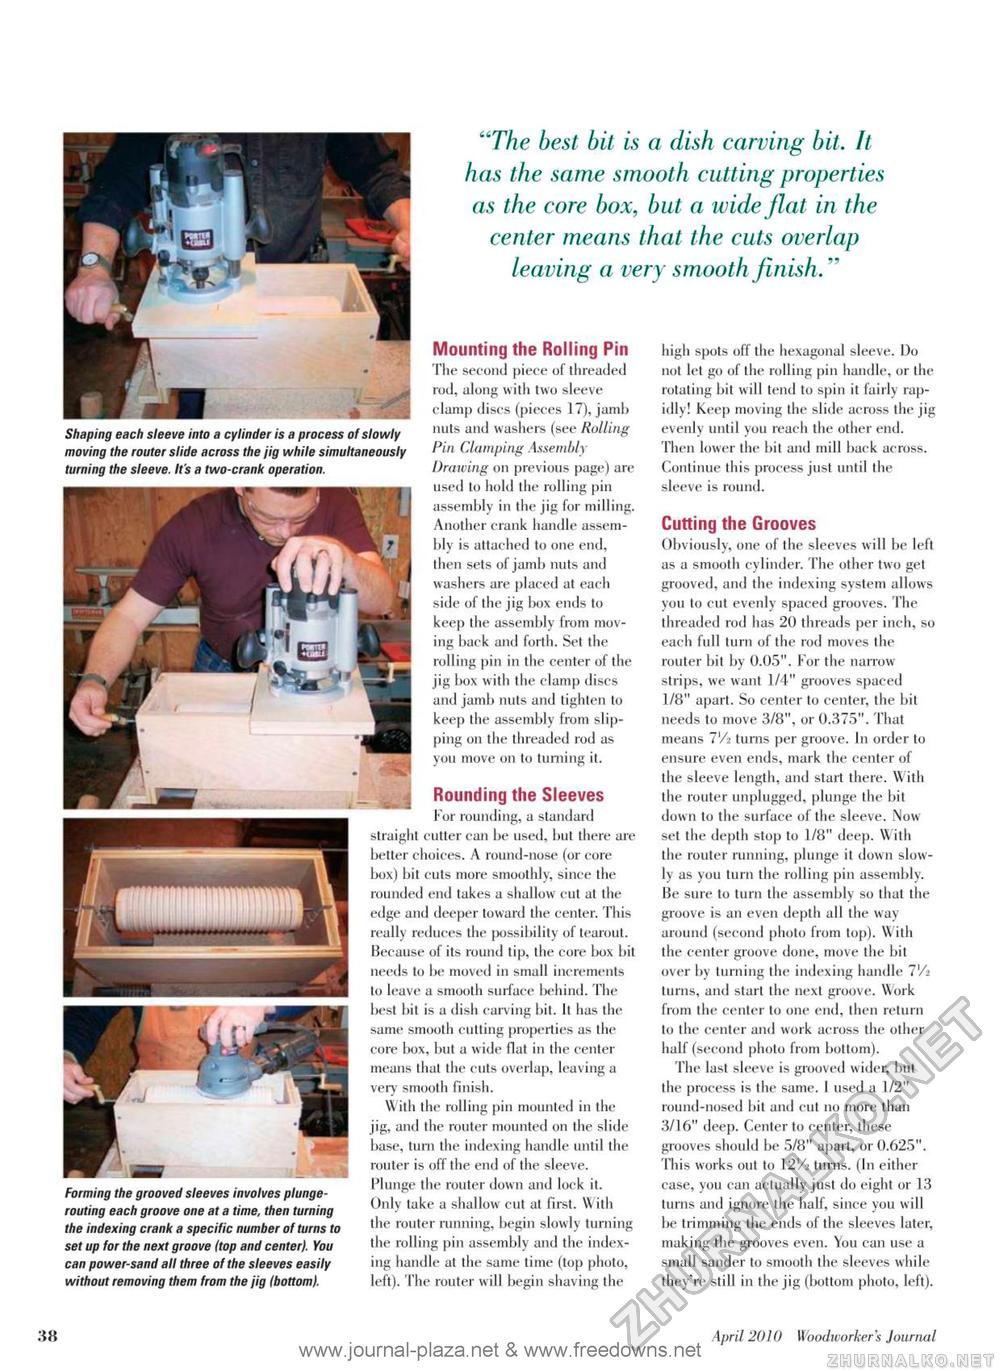
"The best bit is a dish carving bit. It has the same smooth cutting properties as the core box, but a wide flat in the center means that the cuts overlap leaving a very smooth finish." high spots off the hexagonal sleeve. Do not let go of the rolling pin handle, or the rotating bit will tend to spin it fairly rapidly! Keej) moving the slide across the jig evenly until you reach the other end. Then lower the bit and mill back across. Continue this process just until the sleeve is round. Cutting the Grooves Obviously, one of the sleeves will be left as a smooth cylinder. The other two get grooved, and the indexing system allows you to cut evenly spaced grooves. The threaded rod has 20 threads per inch, so each full turn of the rod moves the router bit by 0.05". For the narrow strips, we want 1/4" grooves spaced 1/8" apart. So center to center, the bit needs to move 3/8", or 0.375". That means IVi turns per groove. In order to ensure even ends, mark the center of the sleeve length, and start there. With the router unplugged, plunge the bit down to the surface of the sleeve. Now set the depth stop to 1/8" deep. With the router running, plunge it down slowly as you turn the rolling pin assembly. Be sure to turn the assembly so that the groove is an even depth all the way around (second photo from top). W illi the center groove done, move the bit over by turning the indexing handle IVi turns, and start the next groove. Work from the center to one end, then return to the center and work across the other half (second photo from bottom). The last sleeve is grooved wider, but the process is the same. I used a 1/2" round-nosed bit and cut no more than 3/16" deep. Center to center, these grooves should be 5/8" apart, or 0.625". This works out to \2'A turns. (In either case, you can actually just do eight or 13 turns and ignore the half, since you will be trimming the ends of the sleeves later, making the grooves even. You can use a small sander to smooth the sleeves while they're still in the jig (bottom photo, left). Shaping each sleeve into a cylinder is a process of slowly moving the router slide across the jig while simultaneously turning the sleeve. It's a two-crank operation. Mounting the Rolling Pin The second piece of threaded rod, along with two sleeve clamp discs (pieces 17), jamb nuts and washers (see Rolling Pin Clumping Assembly Drawing on previous page) are used to hold the rolling pin assembly in the jig for milling. Another crank handle assembly is attached to one end, then sets of jamb nuts and washers are placed at each side of the jig box ends to keep the assembly from moving back and forth. Set the rolling pin in the center of the jig box with the clamp discs and jamb nuts and tighten to keep the assembly from slipping on the threaded rod as you move on lo turning it. Rounding the Sleeves For rounding, a standard straight cutter can be used, but there are better choices. A round-nose (or core box) bit cuts more smoothly, since the rounded end takes a shallow cut at the edge and deeper toward the center. This really reduces the possibility of tearoul. Because of its round tip, the core box bit needs to be moved in small increments lo leave a smooth surface behind. The best bit is a dish carving bit. It has the same smooth cutting properties as the core box, but a wide flat in the center means llial the culs overlap, leaving a very smooth finish. With the rolling pin mounted ill the jig, and the router mounted on the slide base, turn the indexing handle until the router is off the end of the sleeve. Plunge the router down and lock it. Only take a shallow cut at first. With the router running, begin slowly turning the rolling pin assembly and the indexing handle at the same time (top photo, left). The router will begin shaving the Ml T / I. Forming the grooved sleeves involves plunge-routing each groove one at a time, then turning the indexing crank a specific number of turns to set up for the next groove Itop and center). You can power-sand all three of the sleeves easily without removing them from the jig Ibottom). 38 April 2010 Woodworkers Jourruil |


