50 - Table Saw Workstation, страница 14
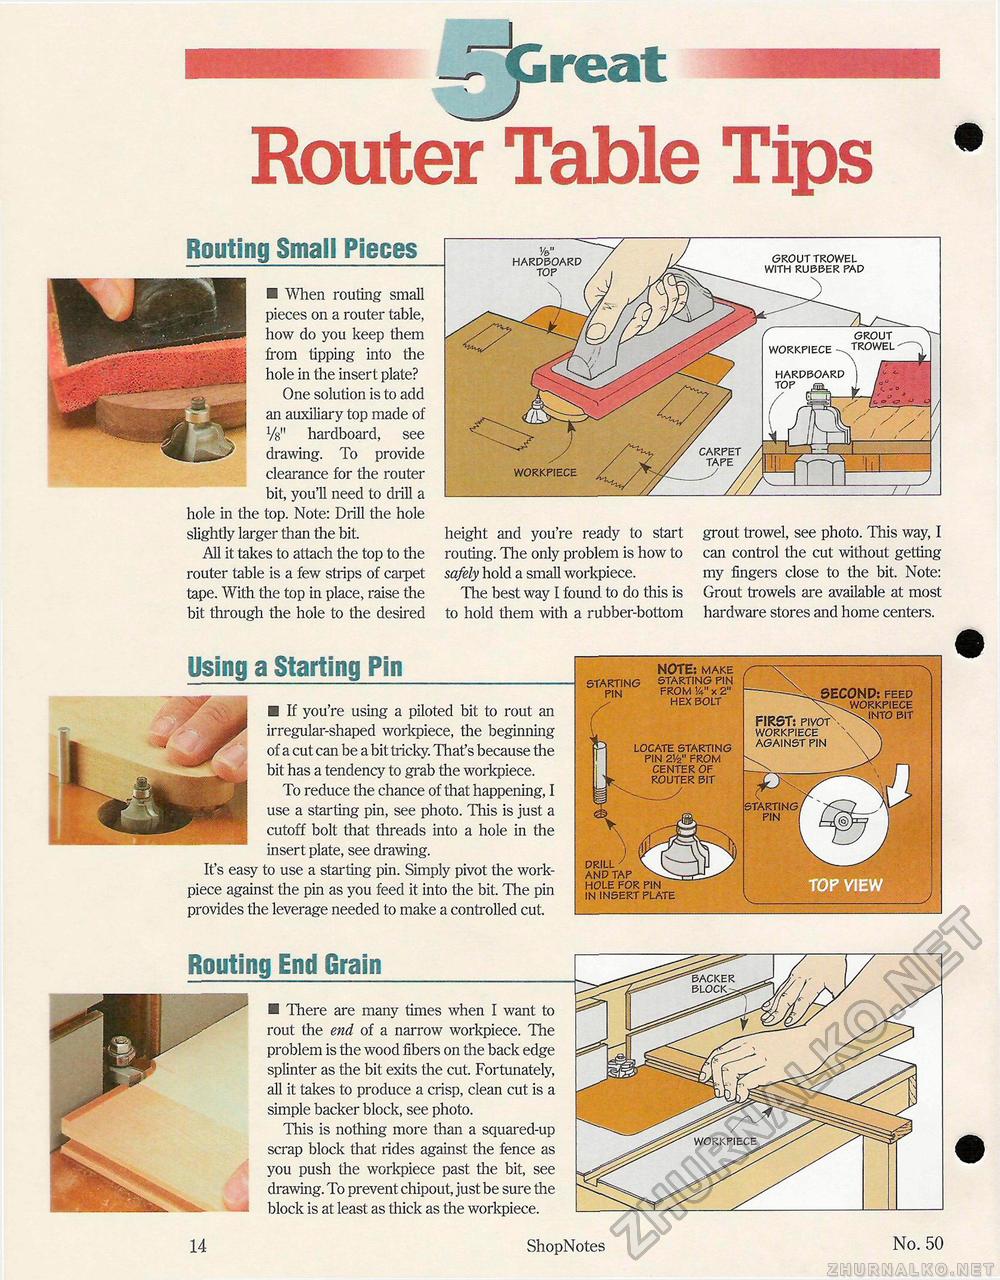
■ When routing small pieces on a router table, how do you keep them from tipping into the hole in the insert plate? One solution is to add an auxiliary top made of Vs" hardboard, see drawing. To provide clearance for the router bit, you'll need to drill a hole in the top. Note: Drill the hole slightly larger than the bit. All it takes to attach the top to the router table is a few strips of carpet tape. With the top in place, raise the bit through the hole to the desired height and you're ready to start routing. The only problem is how to safely hold a small workpiece. The best way I found to do this is to hold them with a rubber-bottom grout trowel, see photo. This way, I can control the cut without getting my fingers close to the bit. Note: Grout trowels are available at most hardware stores and home centers. Using a Starting PinE If you're using a piloted bit to rout an irregular-shaped workpiece, the beginning of a cut can be a bit tricky. That's because the bit has a tendency to grab the workpiece. To reduce the chance of that happening, I use a starting pin, see photo. This is just a cutoff bolt that threads into a hole in the starting pin NOTE: make starting pin from x 2" hex bolt locate starting pin 2VZ" from center of router bit drill and tap hole for pin in insert plate SECOND: feed workpiece into bit Routing End Grain■ There are many times when I want to rout the end of a narrow workpiece. The problem is the wood fibers on the back edge splinter as the bit exits the cut. Fortunately, all it takes to produce a crisp, clean cut is a simple backer block, see photo. This is nothing more than a squared-up scrap block that rides against the fence as you push the workpiece past the bit, see drawing. To prevent chipout, just be sure the block is at least as thick as the workpiece. backer block- workpiece reat Router Table TipsRouting Small Pieces W hardboard top grouttrowel with rubber pad WORKPIECE hardboard top grout workpiece insert plate, see drawing. It's easy to use a starting pin. Simply pivot the work-piece against the pin as you feed it into the bit. The pin provides the leverage needed to make a controlled cut. 14 ShopNotes No. 50 |


