84, страница 32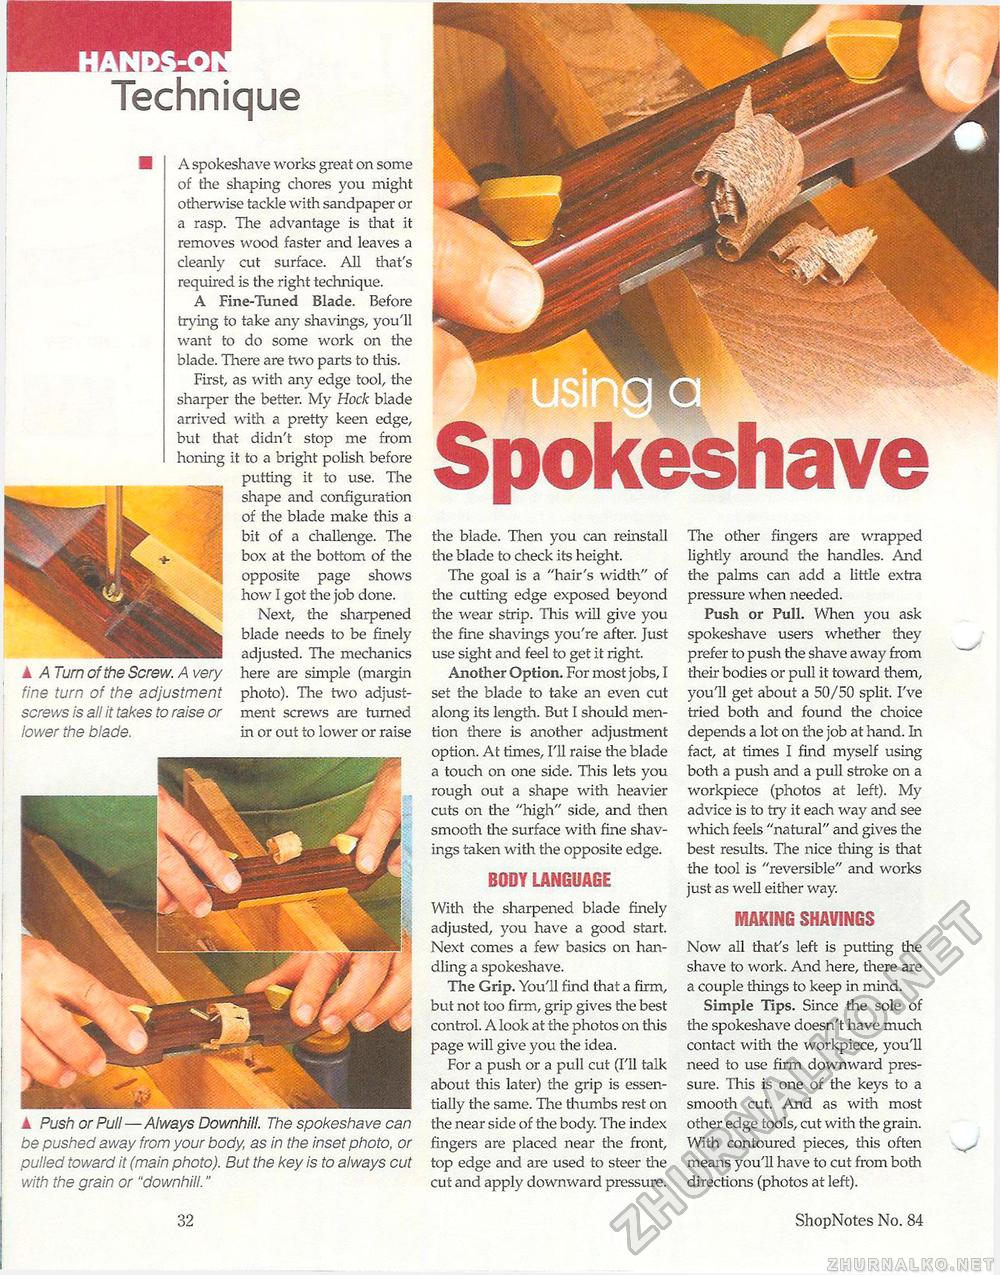
. > ki > m a Technique ▲ Push or Pull—Always Downhill. The spokeshave can be pushed away from your body as in the inset photo, or pulled toward it (main photo). But the key is to always cut with the grain or "downhill." the blade. Then you can reinstall the blade to check its height. The goal is a "hair's width" of the cutting edge exposed beyond the wear strip. This will give you the fine shavings you're after. Just use sight and feel to get it right. Another Option. For most jobs, I set the blade to take an even cut along its length. But I should mention there is another adjustment option. At times, I'll raise the blade a touch on one side. This lets you rough out a shape with heavier cuts on the "high" side, and then smooth die surface with fine shavings taken with the opposite edge. BODY LANGDAGE With the sharpened blade finely adjusted, you have a good start. Next comes a few basics on handling a spokeshave. The Grip. You'll find that a firm, but not too firm, grip gives the best control. A look at the photos on this page will give you the idea. For a push or a pull cut (I'll talk about this later) the grip is essentially the same. Hie thumbs rest on the near side of die body. The index fingers are placed near the front, top edge and are used to steer the cut and apply downward pressure. The other fingers are wrapped lightly around the handles. And the palms can add a little extra pressure when needed. Push or Pull. When you ask spokeshave users whether they prefer to push the shave away from their bodies or pull it toward them, you'll get about a 50/50 split. I've tried both and found the choice depends a lot on the job at hand. In fact, at times I find myself using both a push and a pull stroke on a workpiece (photos at left). My advice is to try it each way and see which feels "natural" and gives the best results. The nice thing is that the tool is "reversible" and works just as well either way. MAKING SHAVINGS Now all that's left is putting the shave to work. And here, there are a couple things to keep in mind. Simple Tips. Since the sole of the spokeshave doesn't have much contact with the workpiece, you'll need to use firm downward pressure. This is one of the keys to a smooth cut. And as with most other edge tools, cut with the grain. With contoured pieces, this often means you'll have to cut from both directions (photos at left). ▲ A Turn of the Screw. A very fine turn of the adjustment screws is all it takes to raise or lower the blade. A spokeshave works great on some of the shaping chores you might otherwise tackle with sandpaper or a rasp. The advantage is that it removes wood faster and leaves a cleanly cut surface. All that's required is the right technique. A Fine-Tuned Blade. Before trying to take any shavings, you'll want to do some work on the blade. There are two parts to this. First, as with any edge tool, the sharper the better. My Hock blade arrived with a pretty keen edge, but that didn't stop me from honing it to a bright polish before putting it to use. The shape and configuration of the blade make this a bit of a challenge. The box at the bottom of the opposite page shows how I got the job done. Next, the sharpened blade needs to be finely adjusted. The mechanics here are simple (margin photo). The two adjustment screws are turned in or out to lower or raise 32 ShopNotes No. 84 |


