91 - Planer Stand, страница 40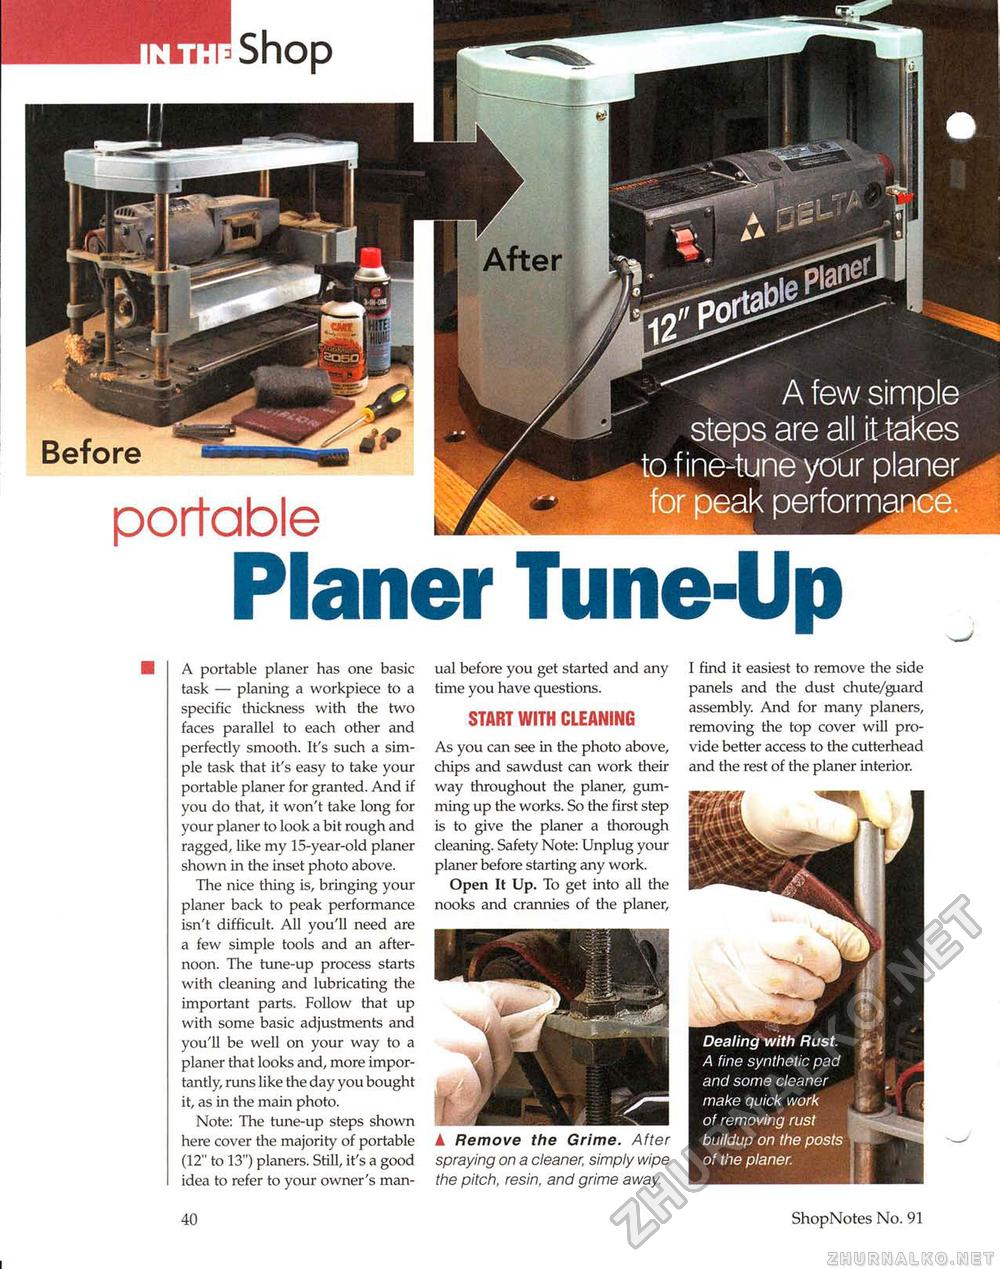
Planer Tune-UpA portable planer has one basic task — planing a workpiece to a specific thickness with the two faces parallel to each other and perfectly smooth. It's such a simple task that it's easy to take your portable planer for granted. And if you do that, it won't take long for your planer to look a bit rough and ragged, like my 15-year-old planer shown in the inset photo above. The nice thing is, bringing your planer back to peak performance isn't difficult. All you'll need are a few simple tools and an afternoon. The tune-up process starts with cleaning and lubricating the important parts. Follow that up with some basic adjustments and you'll be well on your way to a planer that looks and, more importantly, runs like the day you bought it, as in the main photo. Note: The tune-up steps shown here cover the majority of portable (12" to 13") planers. Still, it's a good idea to refer to your owner's man 40 I find it easiest to remove the side panels and the dust chute/guard assembly. And for many planers, removing the top cover will provide better access to the cutterhead and the rest of the planer interior. ShopNotes No. 91 ual before you get started and any time you have questions. START WITH CLEANING As you can see in the photo above, chips and sawdust can work their way throughout the planer, gumming up the works. So the first step is to give the planer a thorough cleaning. Safety Note: Unplug your planer before starting any work. Open It Up. To get into all the nooks and crannies of the planer, A Remove the Grime. After spraying on a cleaner, simply wipe the pitch, resin, and grime away. Dealing with Rust. A fine synthetic pad and some cleaner make quick work of removing rust buildup on the posts of the planer. |


