91 - Planer Stand, страница 42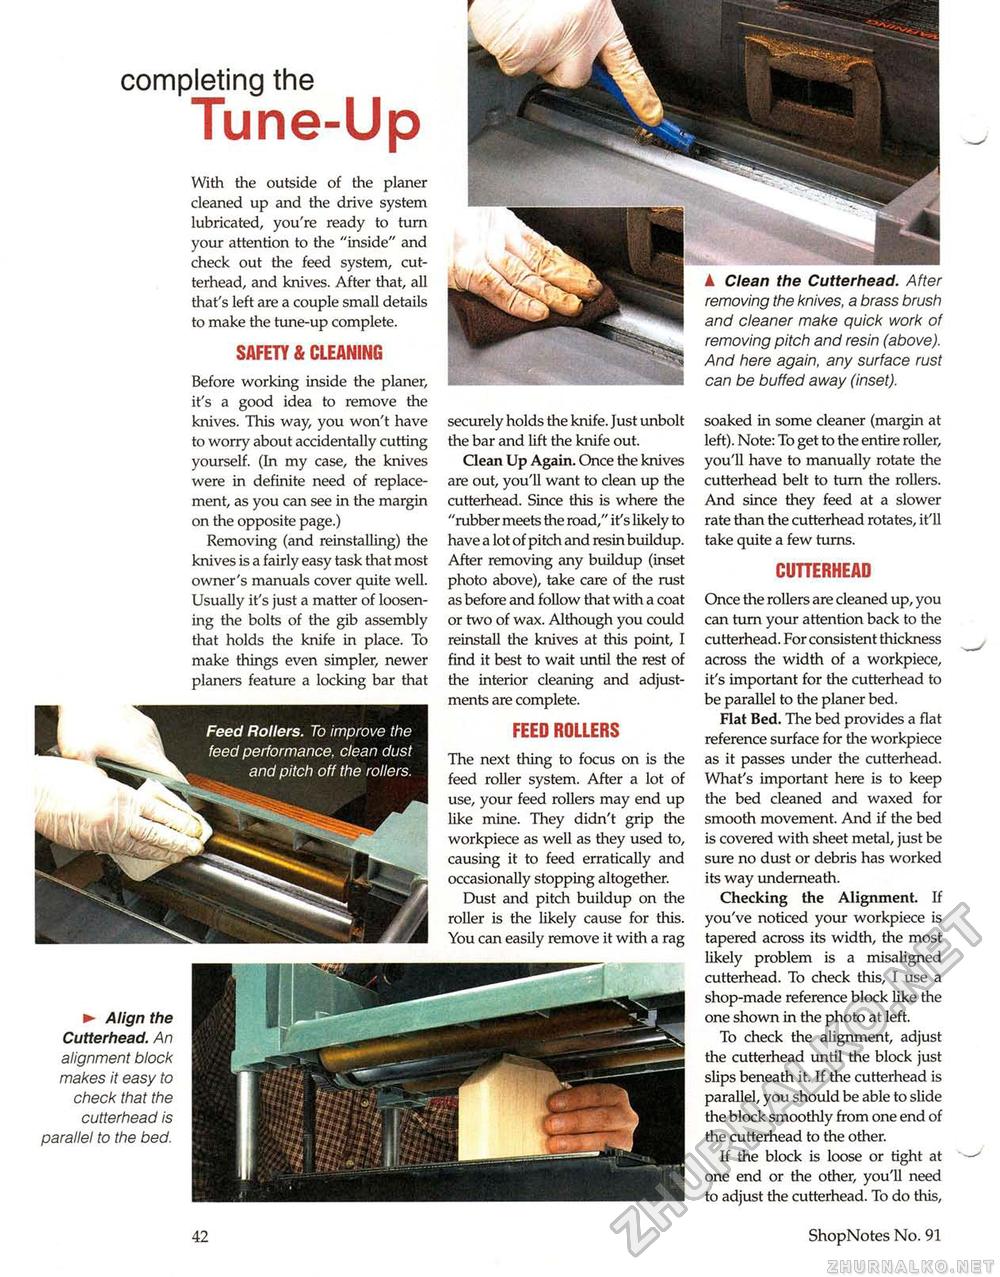
A Clean the Cutterhead. After removing the knives, a brass brush and cleaner make quick work of removing pitch and resin (above). And here again, any surface rust can be buffed away (inset). soaked in some cleaner (margin at left). Note: To get to the entire roller, you'll have to manually rotate the cutterhead belt to turn the rollers. And since they feed at a slower rate than the cutterhead rotates, it'll take quite a few turns. CUTTERHEAD Once the rollers are cleaned up, you can turn your attention back to the cutterhead. For consistent thickness across the width of a workpiece, it's important for the cutterhead to be parallel to the planer bed. Flat Bed. The bed provides a flat reference surface for the workpiece as it passes under the cutterhead. What's important here is to keep the bed cleaned and waxed for smooth movement. And if the bed is covered with sheet metal, just be sure no dust or debris has worked its way underneath. Checking the Alignment. If you've noticed your workpiece is tapered across its width, the most likely problem is a misaligned cutterhead. To check this, I use a shop-made reference block like the one shown in the photo at left. To check the alignment, adjust the cutterhead until the block just slips beneath it. If the cutterhead is parallel, you should be able to slide the block smoothly from one end of the cutterhead to the other. If the block is loose or tight at one end or the other, you'll need to adjust the cutterhead. To do this, completing the Tune-Up securely holds the knife. Just unbolt the bar and lift the knife out. Clean Up Again. Once the knives are out, you'll want to clean up the cutterhead. Since this is where the "rubber meets the road," it's likely to have a lot of pitch and resin buildup. After removing any buildup (inset photo above), take care of the rust as before and follow that with a coat or two of wax. Although you could reinstall the knives at this point, I find it best to wait until the rest of the interior cleaning and adjustments are complete. FEED ROLLERS The next thing to focus on is the feed roller system. After a lot of use, your feed rollers may end up like mine. They didn't grip the workpiece as well as they used to, causing it to feed erratically and occasionally stopping altogether. Dust and pitch buildup on the roller is the likely cause for this. You can easily remove it with a rag With the outside of the planer cleaned up and the drive system lubricated, you're ready to turn your attention to the "inside" and check out the feed system, cutterhead, and knives. After that, all that's left are a couple small details to make the tune-up complete. SAFETY & CLEANING Before working inside the planer, it's a good idea to remove the knives. This way, you won't have to worry about accidentally cutting yourself. (In my case, the knives were in definite need of replacement, as you can see in the margin on the opposite page.) Removing (and reinstalling) the knives is a fairly easy task that most owner's manuals cover quite well. Usually it's just a matter of loosening the bolts of the gib assembly that holds the knife in place. To make things even simpler, newer planers feature a locking bar that ► Align the Cutterhead. An alignment block makes it easy to check that the cutterhead is parallel to the bed. 42 ShopNotes No. 91 |


