82 - The Complete Miter Saw Workstation, страница 38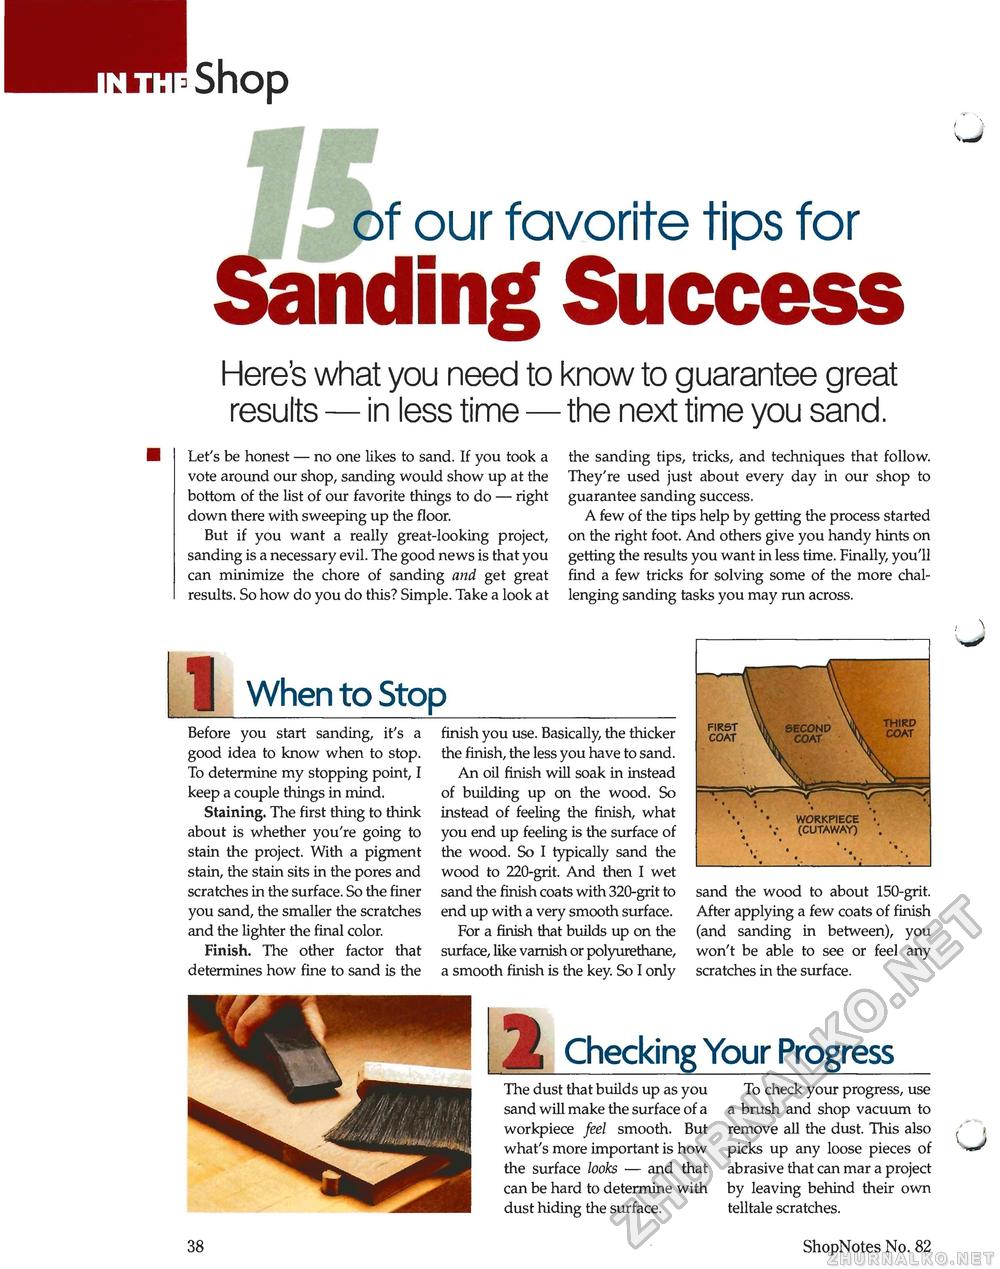
of our favorite tips forSanding SuccessHere's what you need to know to guarantee great results — in less time — the next time you sand. Let's be honest — no one likes to sand. If you took a vote around our shop, sanding would show up at the bottom of the list of our favorite things to do — right down there with sweeping up the floor. But if you want a really great-looking project, sanding is a necessary evil. The good news is that you can minimize the chore of sanding and get great results. So how do you do this? Simple. Take a look at the sanding tips, tricks, and techniques that follow. They're used just about every day in our shop to guarantee sanding success. A few of the tips help by getting the process started on the right foot. And others give you handy hints on getting the results you want in less time. Finally, you'll find a few tricks for solving some of the more challenging sanding tasks you may run across. | When to Stop Before you start sanding, it's a good idea to know when to stop. To determine my stopping point, I keep a couple things in mind. Staining. The first thing to think about is whether you're going to stain the project. With a pigment stain, the stain sits in the pores and scratches in the surface. So the finer you sand, the smaller the scratches and the lighter the final color. Finish. The other factor that determines how fine to sand is the finish you use. Basically, the thicker the finish, the less you have to sand. An oil finish will soak in instead of building up on the wood. So instead of feeling the finish, what you end up feeling is the surface of the wood. So I typically sand the wood to 220-grit. And then I wet sand the finish coats with 320-grit to end up with a very smooth surface. For a finish that builds up on the surface, like varnish or polyurethane, a smooth finish is the key. So I only sand the wood to about 150-grit. After applying a few coats of finish (and sanding in between), you won't be able to see or feel any scratches in the surface. WORKPIECE (CUTAWAY) FIRST COAT THIRD COAT Checking Your Progress The dust that builds up as you sand will make the surface of a workpiece feel smooth. But what's more important is how the surface looks — and that can be hard to determine with dust hiding the surface. To check your progress, use a brush and shop vacuum to remove all the dust. This also picks up any loose pieces of abrasive that can mar a project by leaving behind their own telltale scratches. 38 ShopNotes No. 82 |


